Wikipedia

Search results

Latest On IndianDIYers

Coconut Shell Lamp

Follow Me


NAV

Showing posts with label DIY Project. Show all posts

Thursday, 15 October 2020

Coconut Shell Lamp

 Coconut Shell Lamp

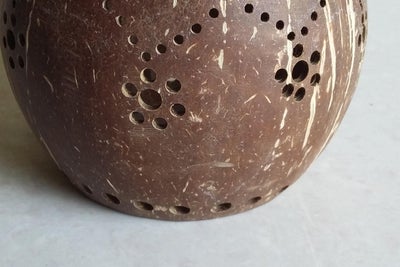
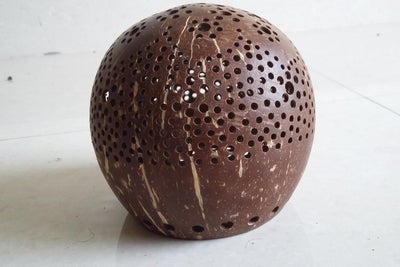
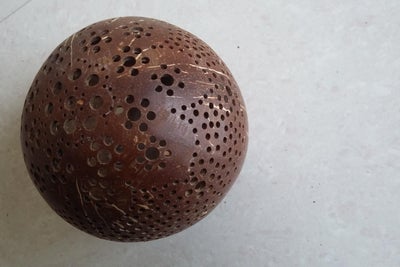
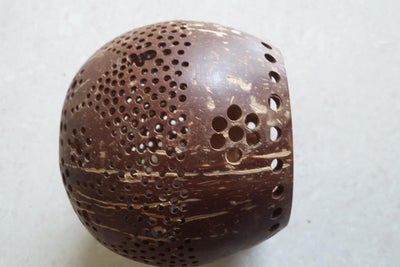
Friends, Recently i went to my friends home which is in kerala, there i found a interesting lamp made of coconut shell. she used to light the lamp with oil and keep that lamp inside textured coconut shell, which gives textured light at night.
Today i have just modified that lamp with the help of junks.
Lets see what are the items required to do this awesome lamp
Supplies:
1, Empty coconut shell 2, Drilling machine 3, Sanding paper for polishing 4, PVC Pipes 5, LED bulbs
6, Cellphone Battery 
7, Adhesive (quick)
8, Switch 
9, Cutting blade

Step 1: Prepare the Coconut Shell

Prepare the Coconut Shell

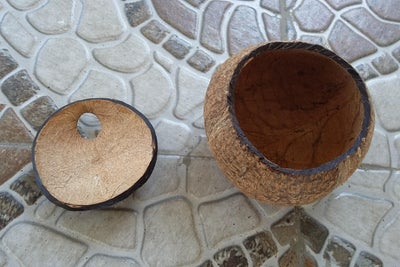
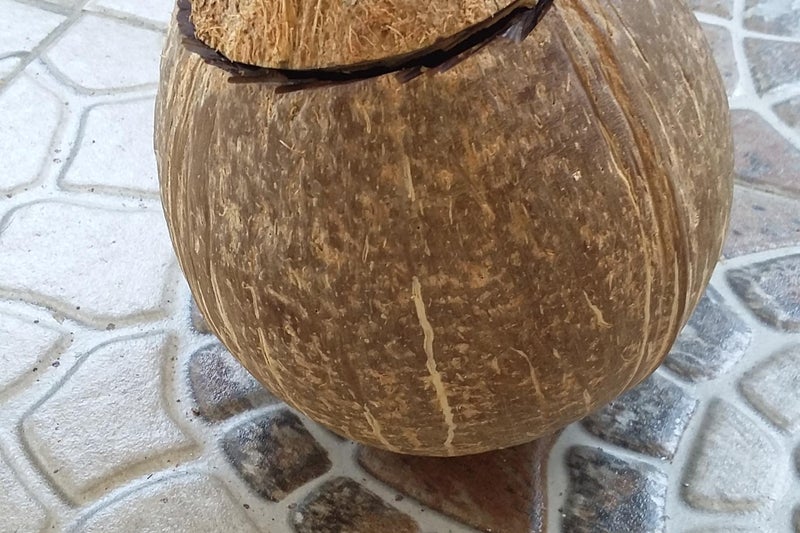
1, Mark a circle at top of shell were you can find 3 dots as shown in first image.
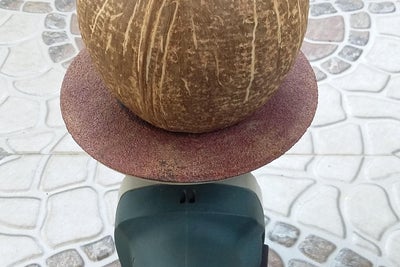
2, Cut the shell with the help of dremel or a angle grinder as shown in image 2
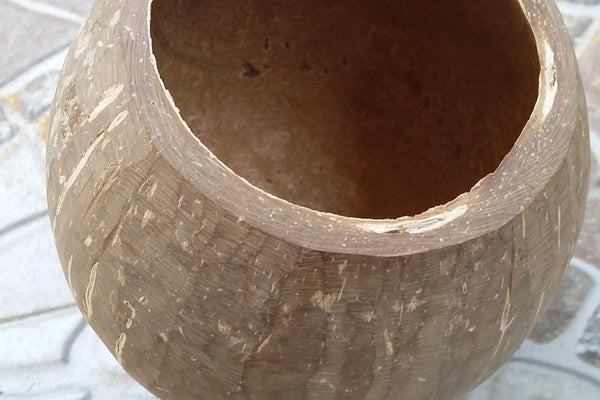
3, Level the cut area with the help of grinding machine as shown in image 3
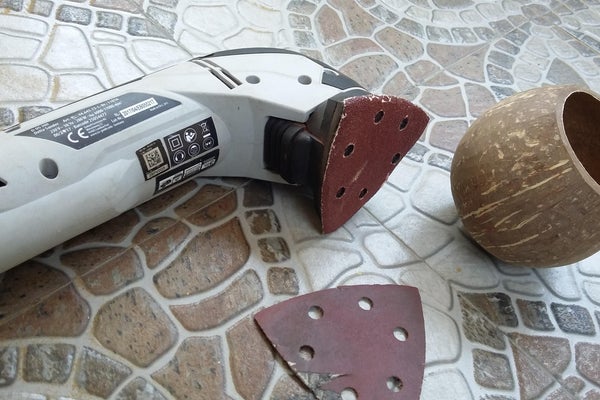
4, Polish the Outer surface of the shell with the help of polishing machine ( first use rough grid then medium and at last fine grid ).

Step 2: Start Making Holes
Start Making Holes
Start Making Holes
Start Making Holes
Start Making Holes
Start Making Holes
Start Making Holes
Start Making Holes
Start Making Holes
Start Making Holes
Start Making Holes

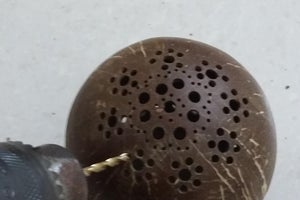
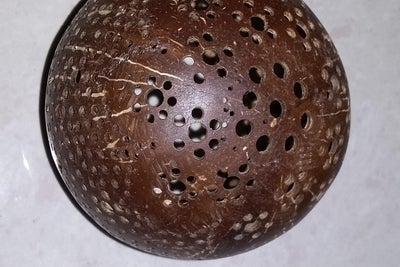
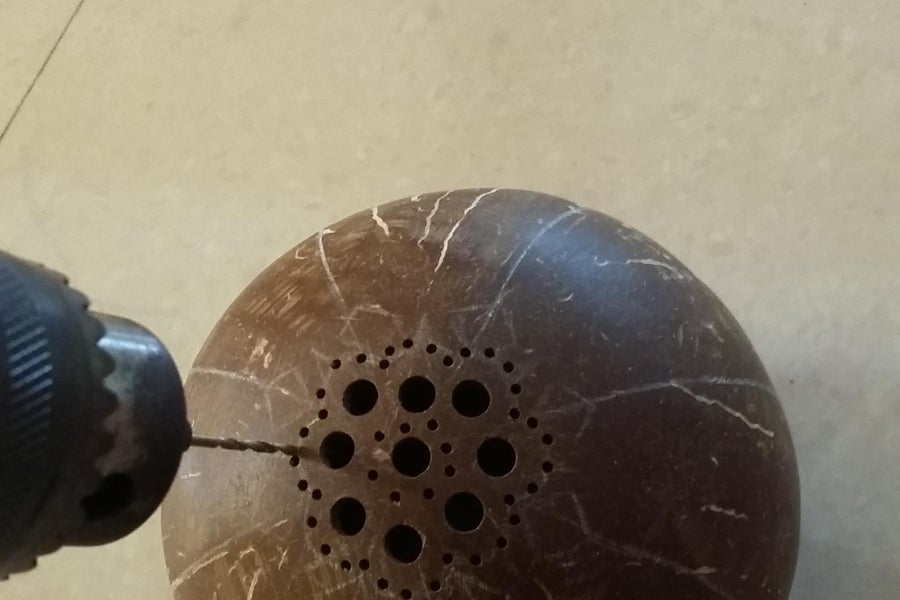
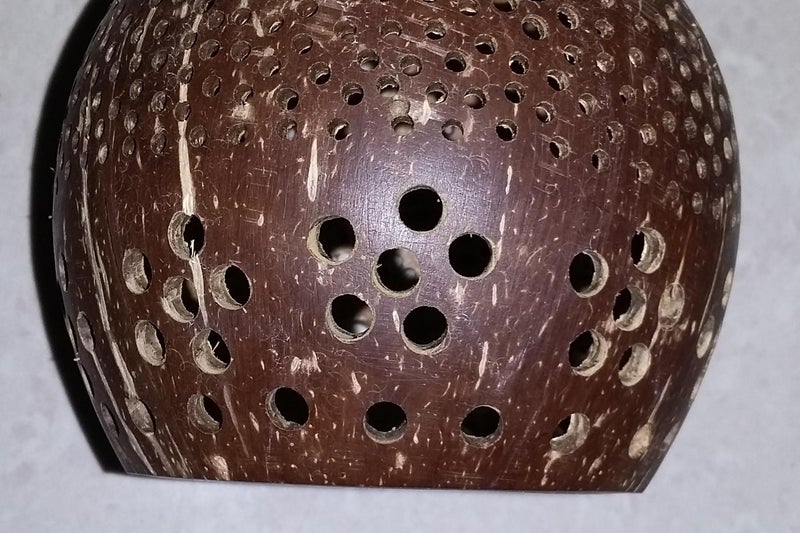
1, Making hundreds of hole is not a easy job, this coconut shell is little hard and when i make a hole my hands were paining like anything.
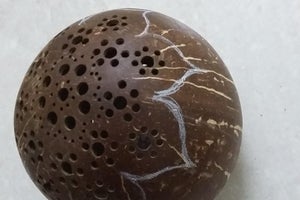
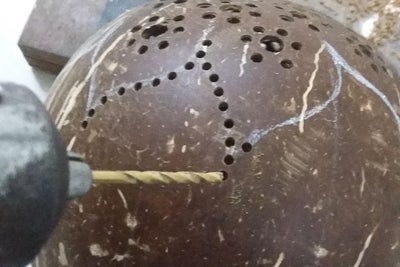
2, First draw your desired pattern in shell.
3, With the help of drilling machine start drilling holes don't leave more space or little space between two holes, make it even so that it look good.
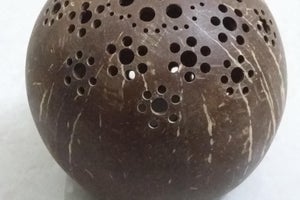
4, Don't use the same size of drill bit, use different sized drill bit to have bigger and smaller holes which will give good texture.
Tips:
Making a bigger hole is hard, so first make a small hole and then enlarge it using bigger drill bit.

Step 3: Making a Lamp Base
Making a Lamp Base
Making a Lamp Base
Making a Lamp Base

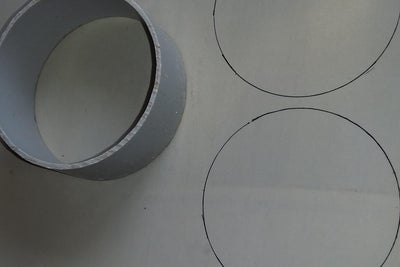
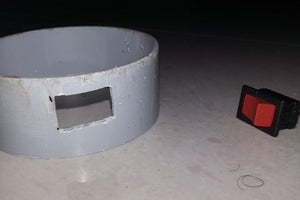
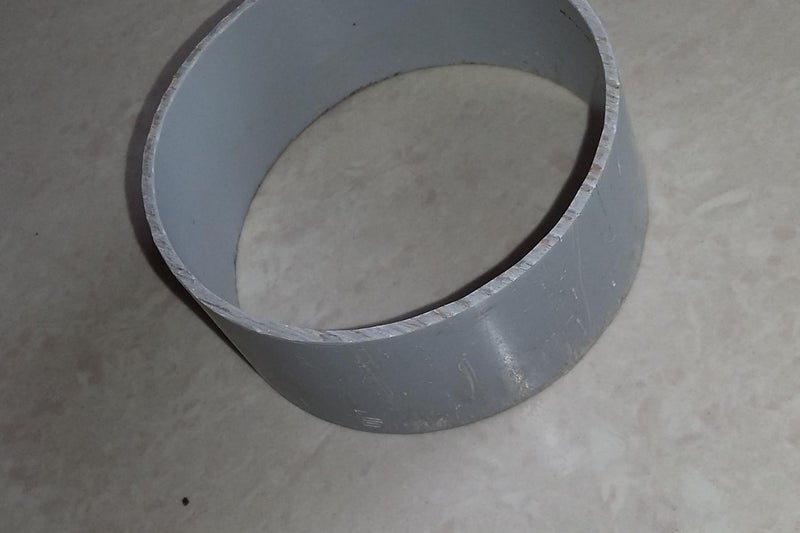
1, I used the PVC pipes as the base for the lamp.
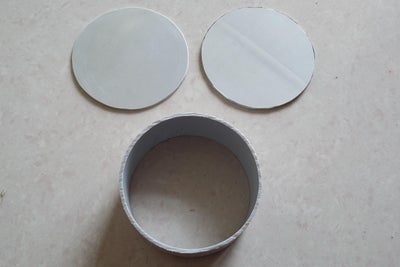
2, Cut 2 inch of the Pipe.
3, For top and bottom cover i just flattened the PVC pipe with the help of Heat gun.
4, Make the circle in the PVC plate and cut it as shown in image 2 and 3.

Step 4: Making Battery Box
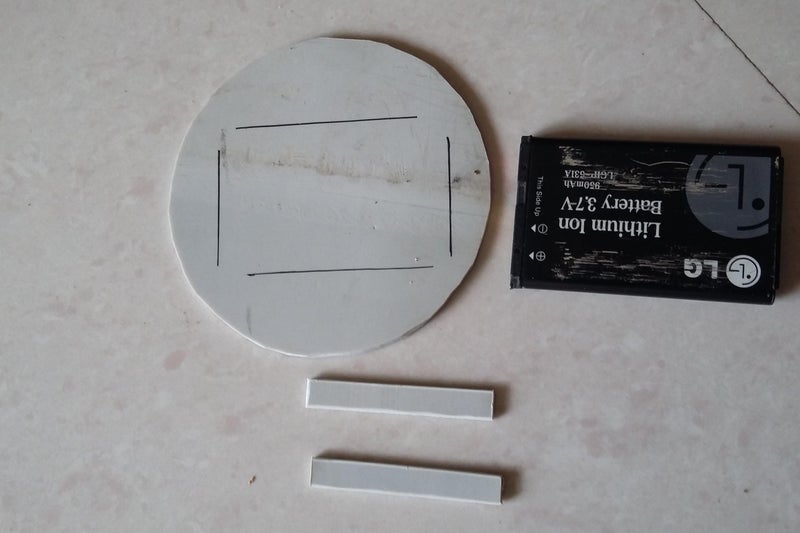
Making Battery Box
Making Battery Box
Making Battery Box
Making Battery Box
Making Battery Box

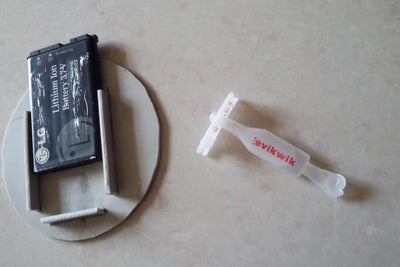
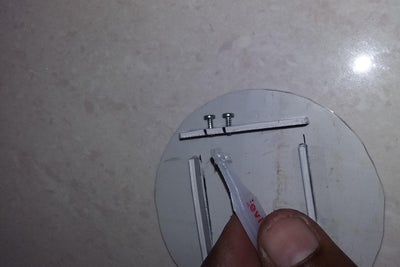
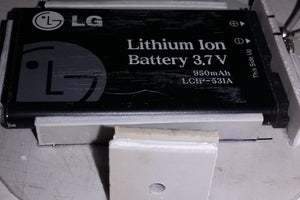
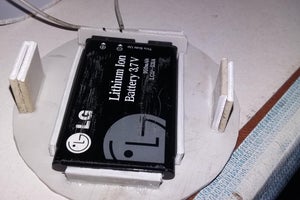
1, To place the cellphone battery i made the small compartment with the help of PVC strip and Quick fix
2, Place a battery on the bottom plate and mark the size of battery.
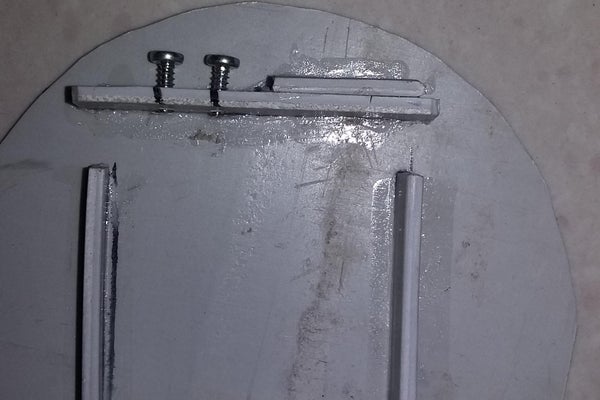
3, Make half cm strip to build a wall and fix it in bottom plate with help of Quick fix as shown in fig 2
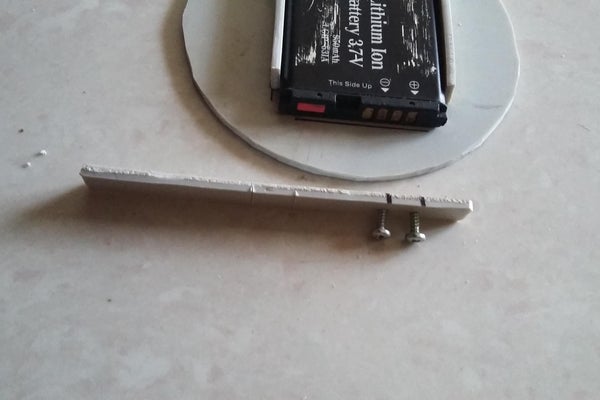
4, Place the battery in the compartment and mark the positive and negative place in the half cm strip to make a way to power the Led.
5, Insert 2 screws at the half cm PVC strip as shown in fig 3 and 4 ( after placing the battery just adjust the screws to touch the positive and negative terminals of the battery).

Step 5: Make Place for Bulbs and Switch.
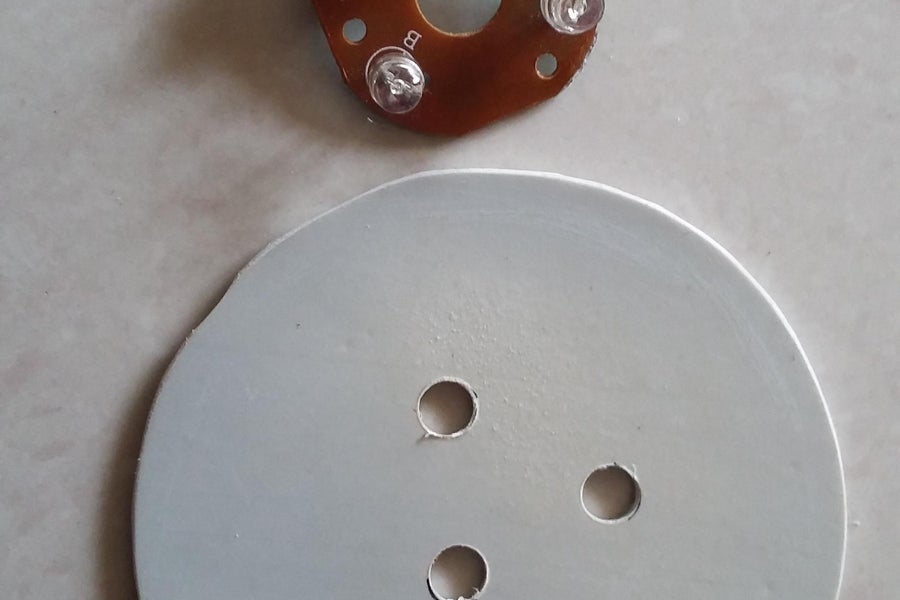
Make Place for Bulbs and Switch.

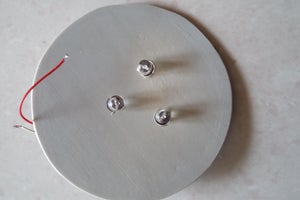
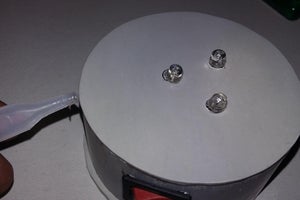
1, Make 3 holes in the PVC plate to have LEDs fixed there as shown in fig 1 and 2.
2, Mark the size of the switch and cut it so that The switch fits in its position as shown in fig 3 and 4

Step 6: Connect the LEDs to Battery and Switch
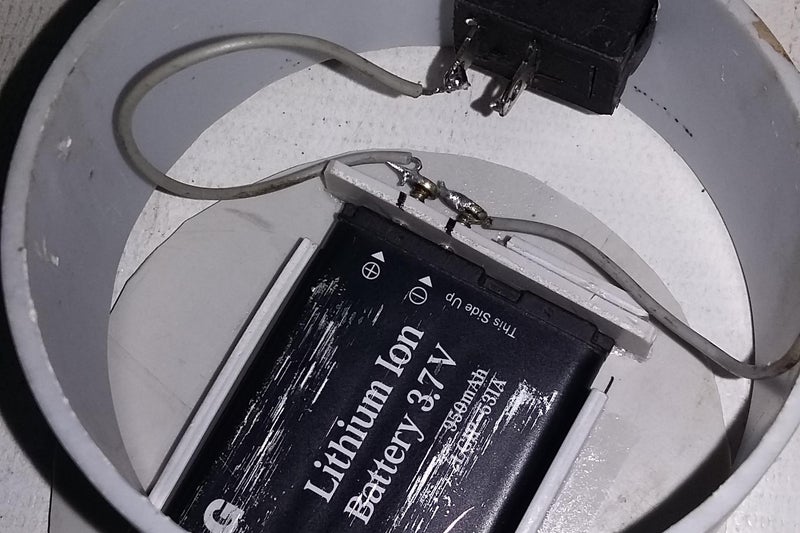
Connect the LEDs to Battery and Switch
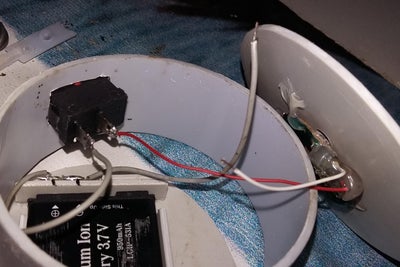
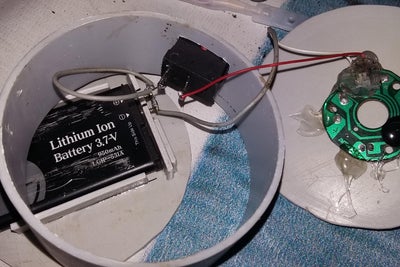

1, Am damn sure that every one knows the basic connectivity to light a bulb.
2, if you are not sure about the connection just see my image its pretty simple.
3, Solider first end of switch to positive screw of battery.
4, connect the negative side of battery to one end of LEDS,
5, connect second end of switch to the other end of LEDS.


Step 7: Assemble the Top and Bottom Lid
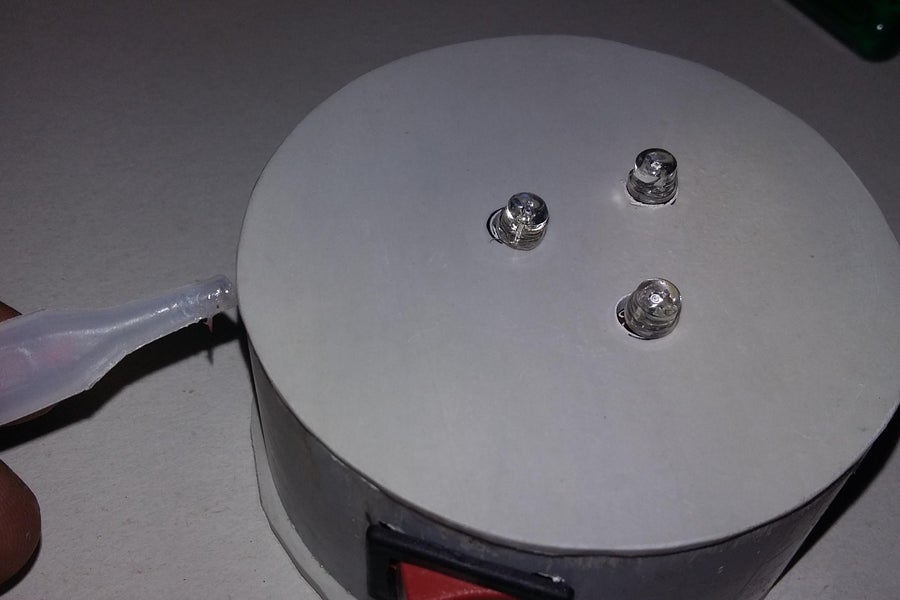
Assemble the Top and Bottom Lid

1, Attach the Top plate having LEDS to the Top side of the 2 inch PVC tube as shown in fig 1
2, To attach the bottom plate, i just attached the supporting part made of PVC plate and fixed in the Bottom plate with the help of Quick Fix see image 3 and 4.

Step 8: Final Assembly
Final Assembly
Final Assembly
Final Assembly

1, Attach the bottom Plate with the 2 inch PVC tube housing.
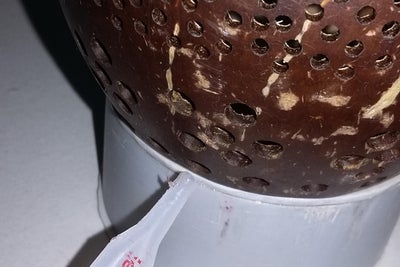
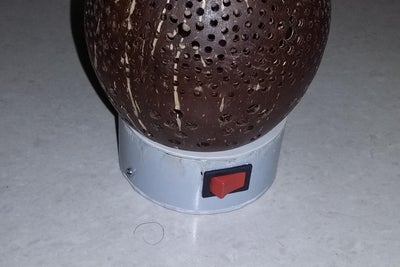
2, finally take the Coconut shell and place it on top of the base and attach both shell and PVC with the help of Quick fix. See image 2
3, The final product will be looking like figure in Image 3.

Step 9: Show Time......
Show Time......
Show Time......
Show Time......
Show Time......
Show Time......
Show Time......

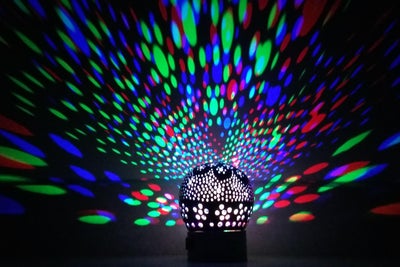
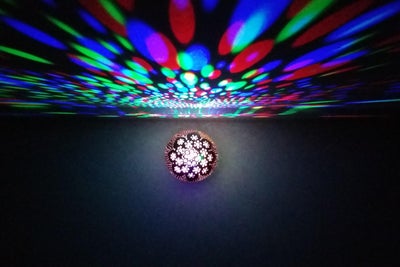
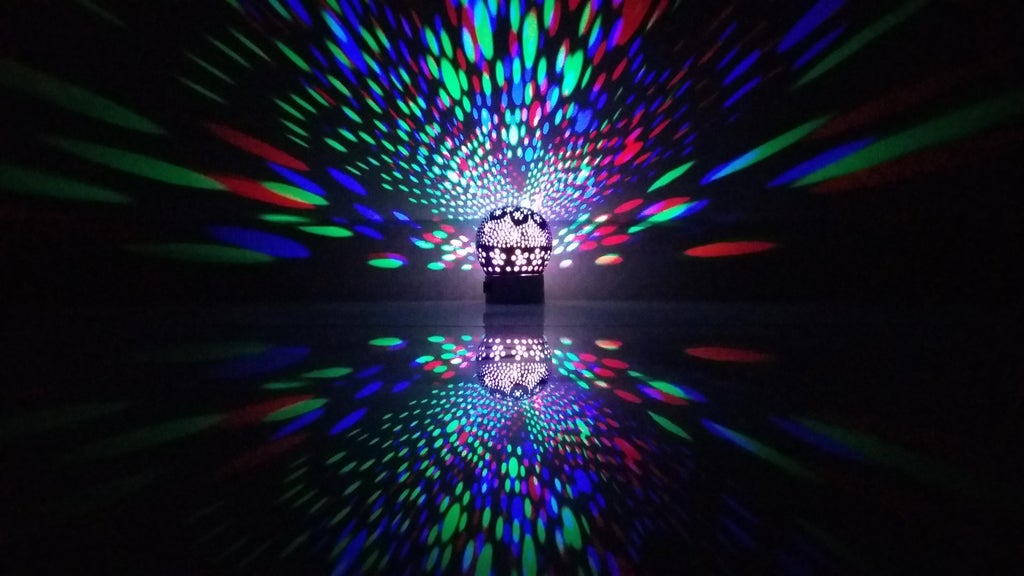
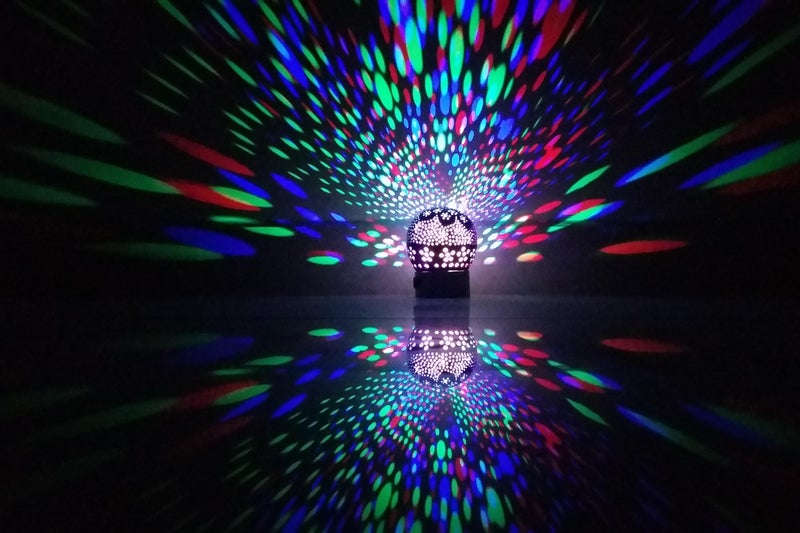
This is how it looks at night, I didn't expect this outcome. it was really cool
This is portable and we can take it where ever you want, perfect place would be at bedside.
light textures from this lamp cover an entire big room.

Thursday, 12 July 2018

How to Make Scrolling Display Using Arduino and Bluetooth | DIY smartphone control scrolling display using arduino

Introduction:-

In this post I am going to discuss about "How can you make a scrolling display using the arduino and control it through smartphone" . By using the Bluetooth you can send maximum 63 characters and through the program it can display up to 500 characters (In my case). The message from Bluetooth is temporary and it will automatically clear if the micro-controller is turned off. Before starting please watch the Video it gives you the whole Idea about the project,,,,and if you like the video then don't forget to leave the like and comment and share the video......So.let's get started....

Step 1: Materials and Tools

1) Bread Board
2) 2pcs Of DMD (dot-matrix-display) mine is P10
3) Arduino UNO or NANO
4) HC-05 Bluetooth module
5) Jumper Wires
6) Wire stripper
7) Screwdriver
8) 5 Volt DC adapter (Higher the Amp better the brightness "max-5 amp")

Step 2: Circuit


Connect the DMD pins as shown in the circuit diagram and connect the output of the first module to the input of the second module and also connect the Vcc and GND of the both panel using wires.
Connection of led panel with arduino UNO
OE >>> D9
A >>> D6
B >>> D7
C >>> No connection
CLK >>> D13
SCLK >>> D8
R >>> D11
GND >>> GND of arduino( any one)
Bluetooth Connection
Connect the TX of the Bluetooth module to the RX (D0) pin of the arduino and RX of bt. module to TX (D1) of arduino UNO...
You can also change the Password and Name of the bluetooth module using AT command to ahange the password and name connect TX of Bt. module to TX of UNO and RX to RX and Open Arduino IDE and open Serian monitor Type AT command. You can find all AT command of HC-05 Module on internet " search for 'AT command of HC-05' on google"
NOTE***---You Cant upload the program while bluetooth is connected to the arduino.


Step 3: Upload the Program


Before uploading sketch to arduino disconnect the bluetooth module from arduino to avoid compiling error.
Download the zip file which contents TimerOne and DMD library and the arduino Sketch, and extract the zip file. copy the libraries to the library folder of arduino and open the arduino sketch. You can change the max characters length and message on the program as your requirement. ...
Chose the board type and serial port and click upload...after uploading the sketch connect the bluetooth module and you are ready to send message using smartphone....
Arduino sketch Credit: to hackers.io

Step 4 :Installing App and Connecting Power Supply


Now connect the 5 volt DC power supply to LED panel and power it on if it is working perfectly...Then install the bluetooth control app from google play store. Open play store and search for "Arduino Bluetooth Control" and install the app and open and connect with bluetooth module...and you are ready to send mesasage....
If You found this post helpful then leave a like and consider supporting my future projects through my patreon campaign and subscribe to my youtube channel....