


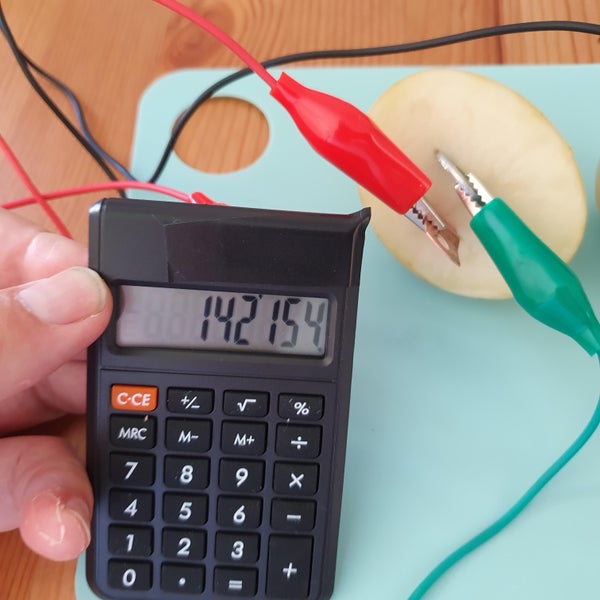
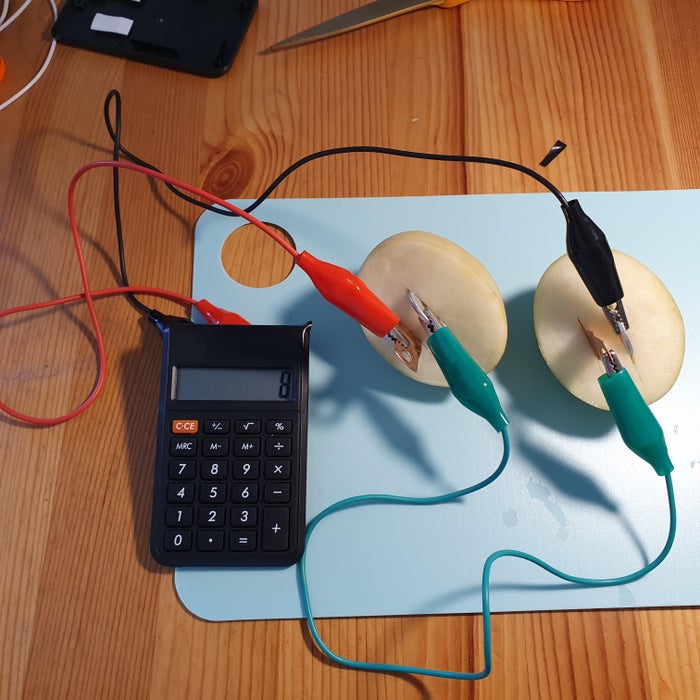
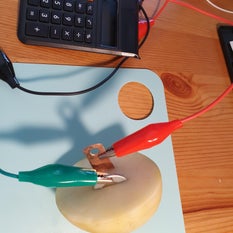
This is how I powered a calculator from a potato battery. It is still working after 3 days.
You may may be tempted to use a small red LED light instead - don't. It won't work (not enough current or voltage). Also, do not eat the potato afterwords.Buy some alligator leads for this project, it will make it so much easier.
Supplies:Calculator3 Cablespotato2 zinc coated washers2 strips of copper
Step 1: Calculator and Cables
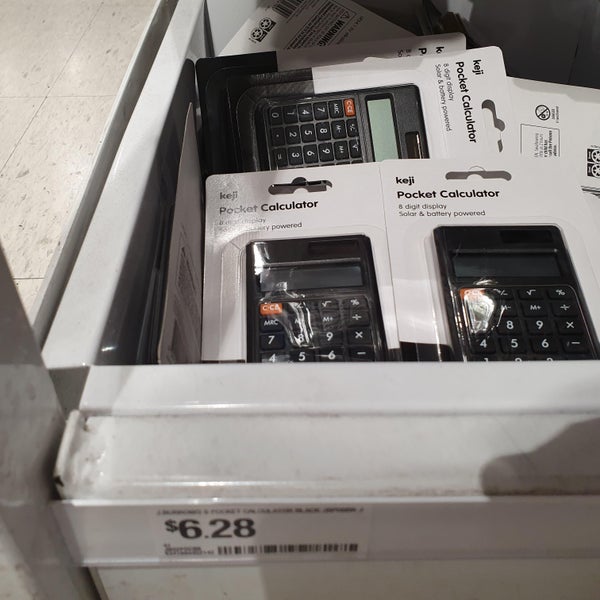
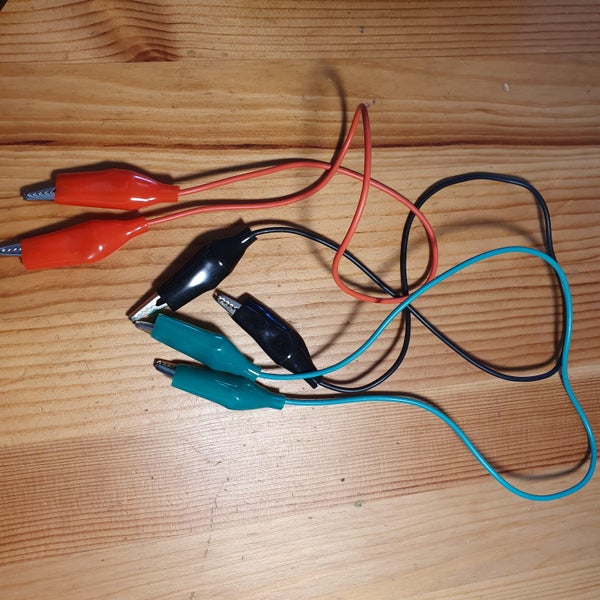
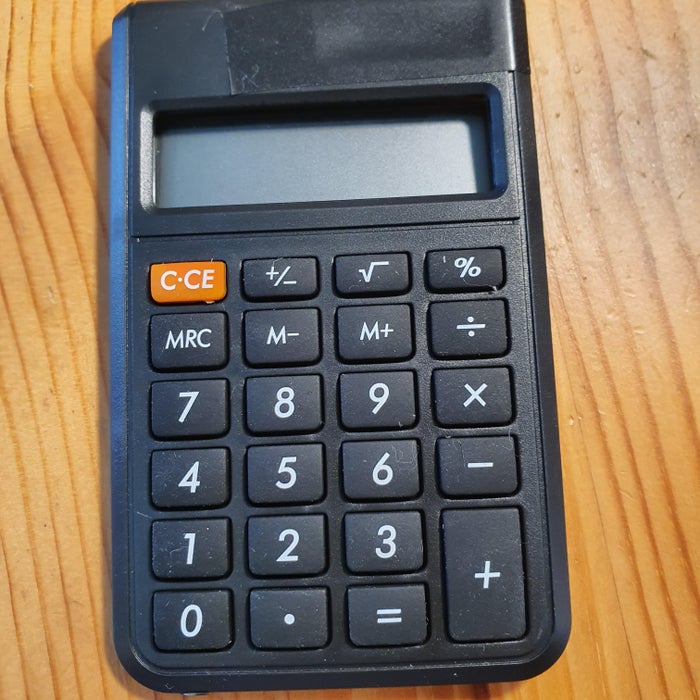
I was in a discount shop the other day and I brought a small, cheap calculator. I checked that it only needed 1.5 volts to power it. (this was written on the packet) and it had a small LCD display. LCD stands for liquid crystal display. It also used a small button battery. Afterwards, I went to an electronic hobby story and brought a packet of alligator clip cables. These are wires with alligator clips on each end, (for some reason I keep thinking they are called crocodile clips). There were 10 cables in the packet, and they were so much easier to use than playing around with wires and trying to attach them with sticky tape. I could have also got them delivered over the internet, but the store was nearby.Step 2: Copper and Zinc Coated Washers
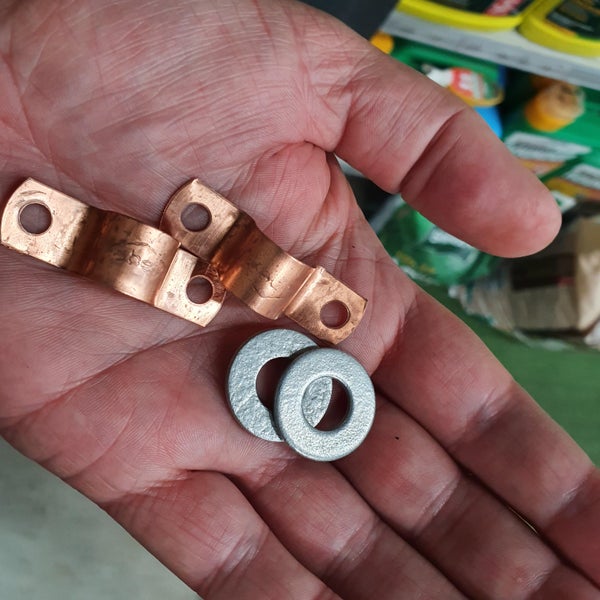
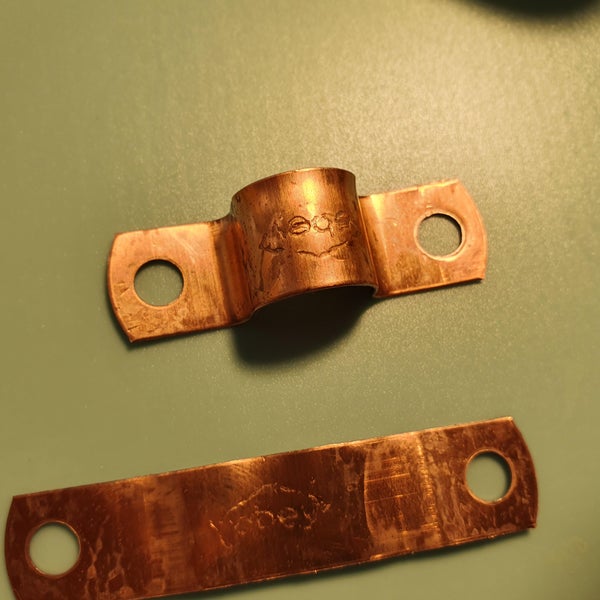
Previously, I had already been to a hardware story and got some zinc coated washers, though turns out I had some zinc coated nails and screws already at home which I could have used. I thought getting a copper strip would be a problem but while in the story I visited the plumbing section and found some copper saddles, used to secure ½ inch pipe. I straighten these when I got home into strips. Now I had what was required to make a potato powered calculator.Step 3: Remove Battery From Calculator
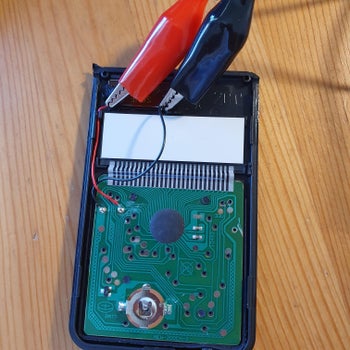
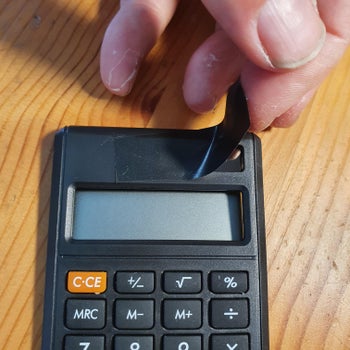
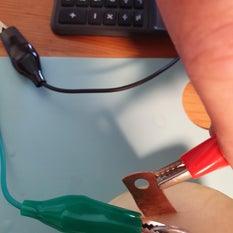
Remove existing batteryCover solar panel if requiredAttached cables.I took the back off the calculator and removed the small 1.5v button battery, being carefully to store it in a safe space. I noticed the calculator was still working as it had a small solar panel on it, I covered this with black tape to stop it. Next, I connected a red alligator clip cable to the positive terminal and a black one to the negative terminal. They were marked + and -.Step 4: Cut Potato in Half, Insert Copper and Zinc Coated Washer
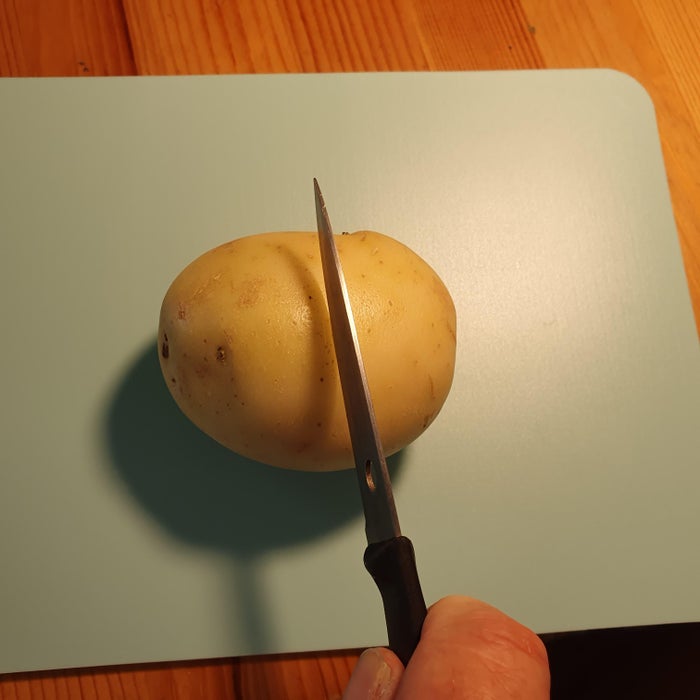
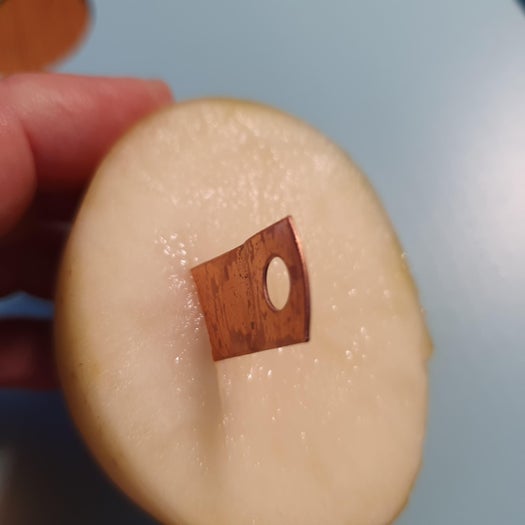
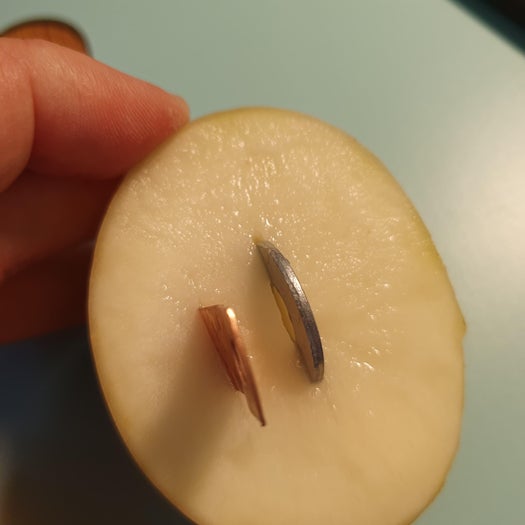
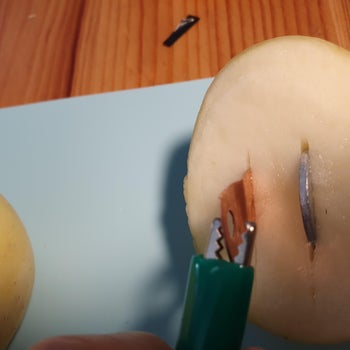
Cut in halfCut two slits into each halfPut in the metal stripsNow to making the battery: I cut the potato in half, then poked a small slit for the washer and another about ¾ inches away for the copper strip. I pushed a zinc washer in one of the slits and a copper strip in the other. I did this for both halves of potato. They each make a cell which when connected with wire will make a battery.Step 5: Add a Cable: Copper to Zinc - Between Potato Halves
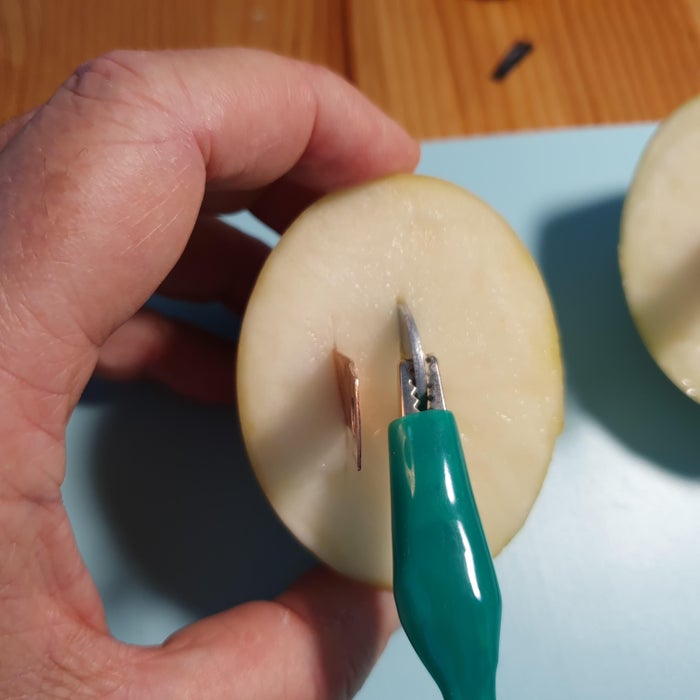
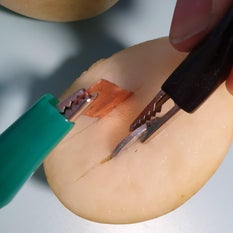
Add a cable between the zinc coated washer from one potato to the copper strip on the other half.I connected another new alligator cable (it's the green cable n the photo) from a copper strip in one half of potato to the zinc washer on the other half. This is called connecting the cells in seriesStep 6: Connect the Calculator
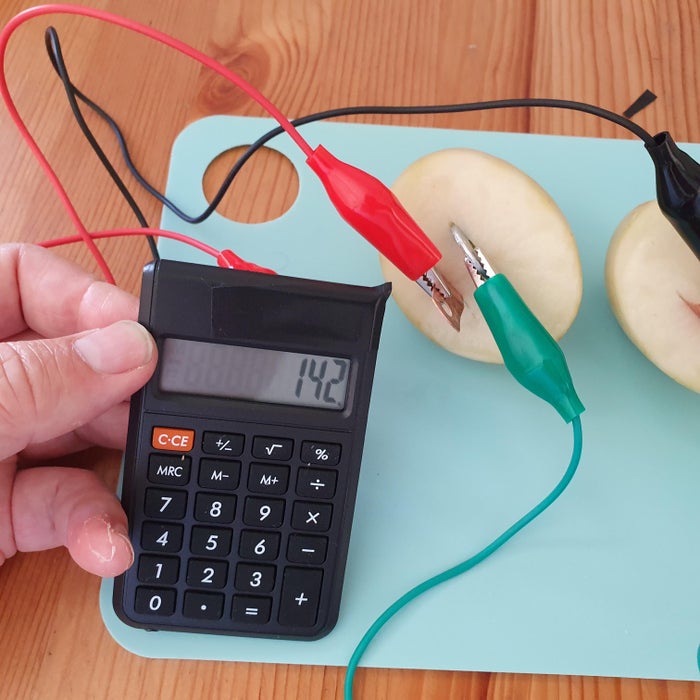
Add the wires previously attached to the back of the calculator.Now connect the black cable, the one connected to the negative terminal on the calculator to the free zinc washer. Connect the red cable from the calculator to the free copper strip in the other half of potato. Check the photos to see its connected correctly.Step 7: Calculator Away
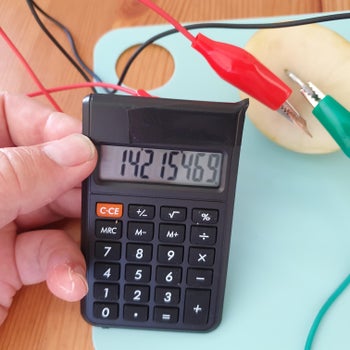
Turn on the calculator and get calculating with potato power! (OK, really its zinc electrons)Calculators are so much fun. Did you know they can do more than just maths?: So, there were these two countries who had oil wells and they went to war. One side had 142 soldiers (type into calculator) and the other had 154 soldiers (type into calculator) and they fought over 69 oil wells (type into calculator) times 5 years (type multiplier sign and then 5 on calculator). Do you know who won? (press = sign on calculator and turn it 180 degrees to read the answer). Man, that one never gets old!Step 8: Questions and Answers:
1. Can this potato battery be used to charge my iPhone?Answer: No!2. Can it run a red LED light?Answer: No.3. How long will it run the calculator:Answer: Don’t know, I have been using it off and on for 3 days and it is still working.4. What if it doesn’t work?Answer: Move on and do something else, you can get frustrated and waste a lot of time playing around with potato batteries and the like. There is also a fair bit of misleading information on the internet about them. The power they make is very small and can’t be used for much at all.Step 9: Further Investigation
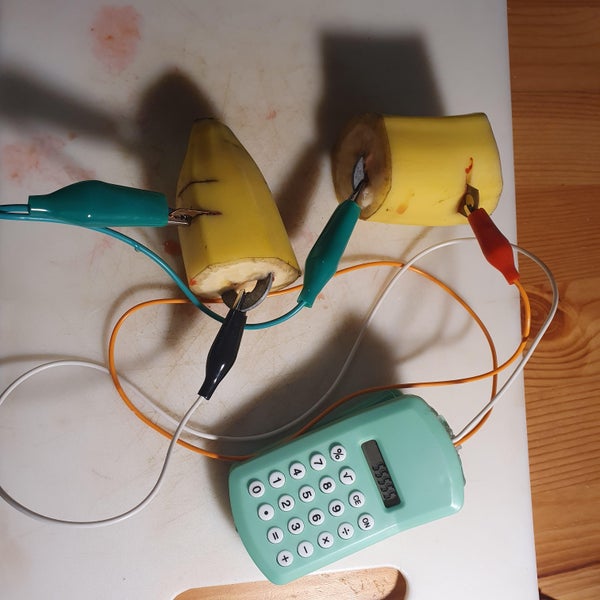
I also tried a couple of strawberries and a banana to power a calculator. Both worked.
Step 10: Measuring Power Output
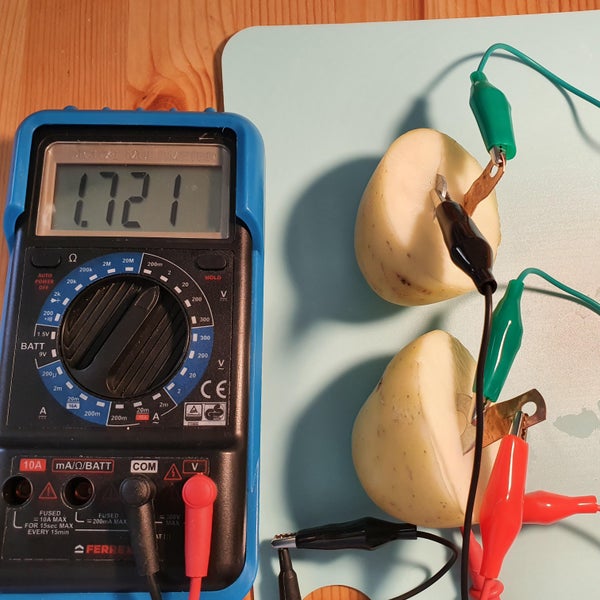
Power of the battery is measured in watts.This is the voltage x the current (amps)Watts = Volts x AmpsUsing a multimeter I measured the volts and the amps:Volts = 1.72Amps = 0.000528 (0.528 Milliamps)A Milliamp is 1/1000 of an AmpWatts: 1.72 x .000528 = 0.000908Step 11: Power From Cooked Potato
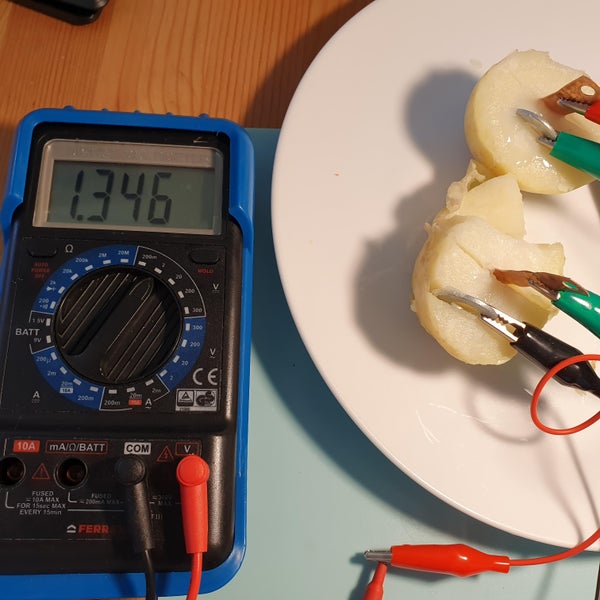
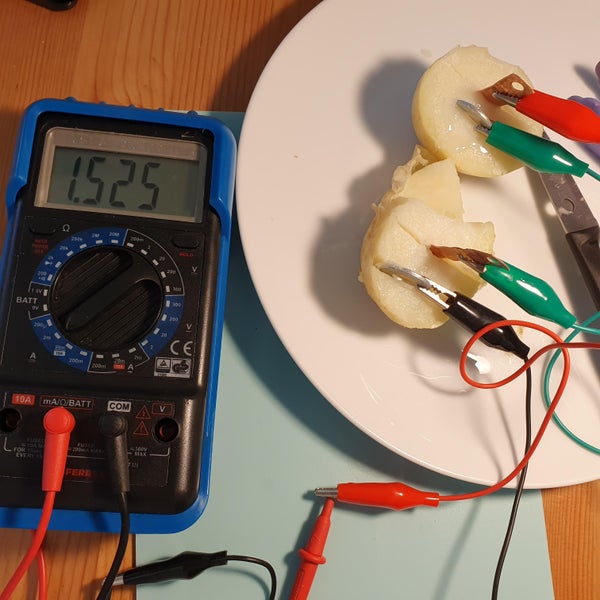
I had read cooking the potato would increase its output. So I cooked a different potato and measured output.Volts: 1.346Milliamps: 1.525 (very small)The volts had reduced but Milliamps had increased. The potato also started to break up and wasn't very usable.Apparently, cooking the potato reduces its internal resistance and allows more current to flow from the zinc washer to the copper strip. The energy isn't really coming from the potato but from the zinc electrons on the washers.The power is still too small to light a red LED, most need 3 volts and 20 Milliamps.


Source: Instructables
No comments:
Post a Comment